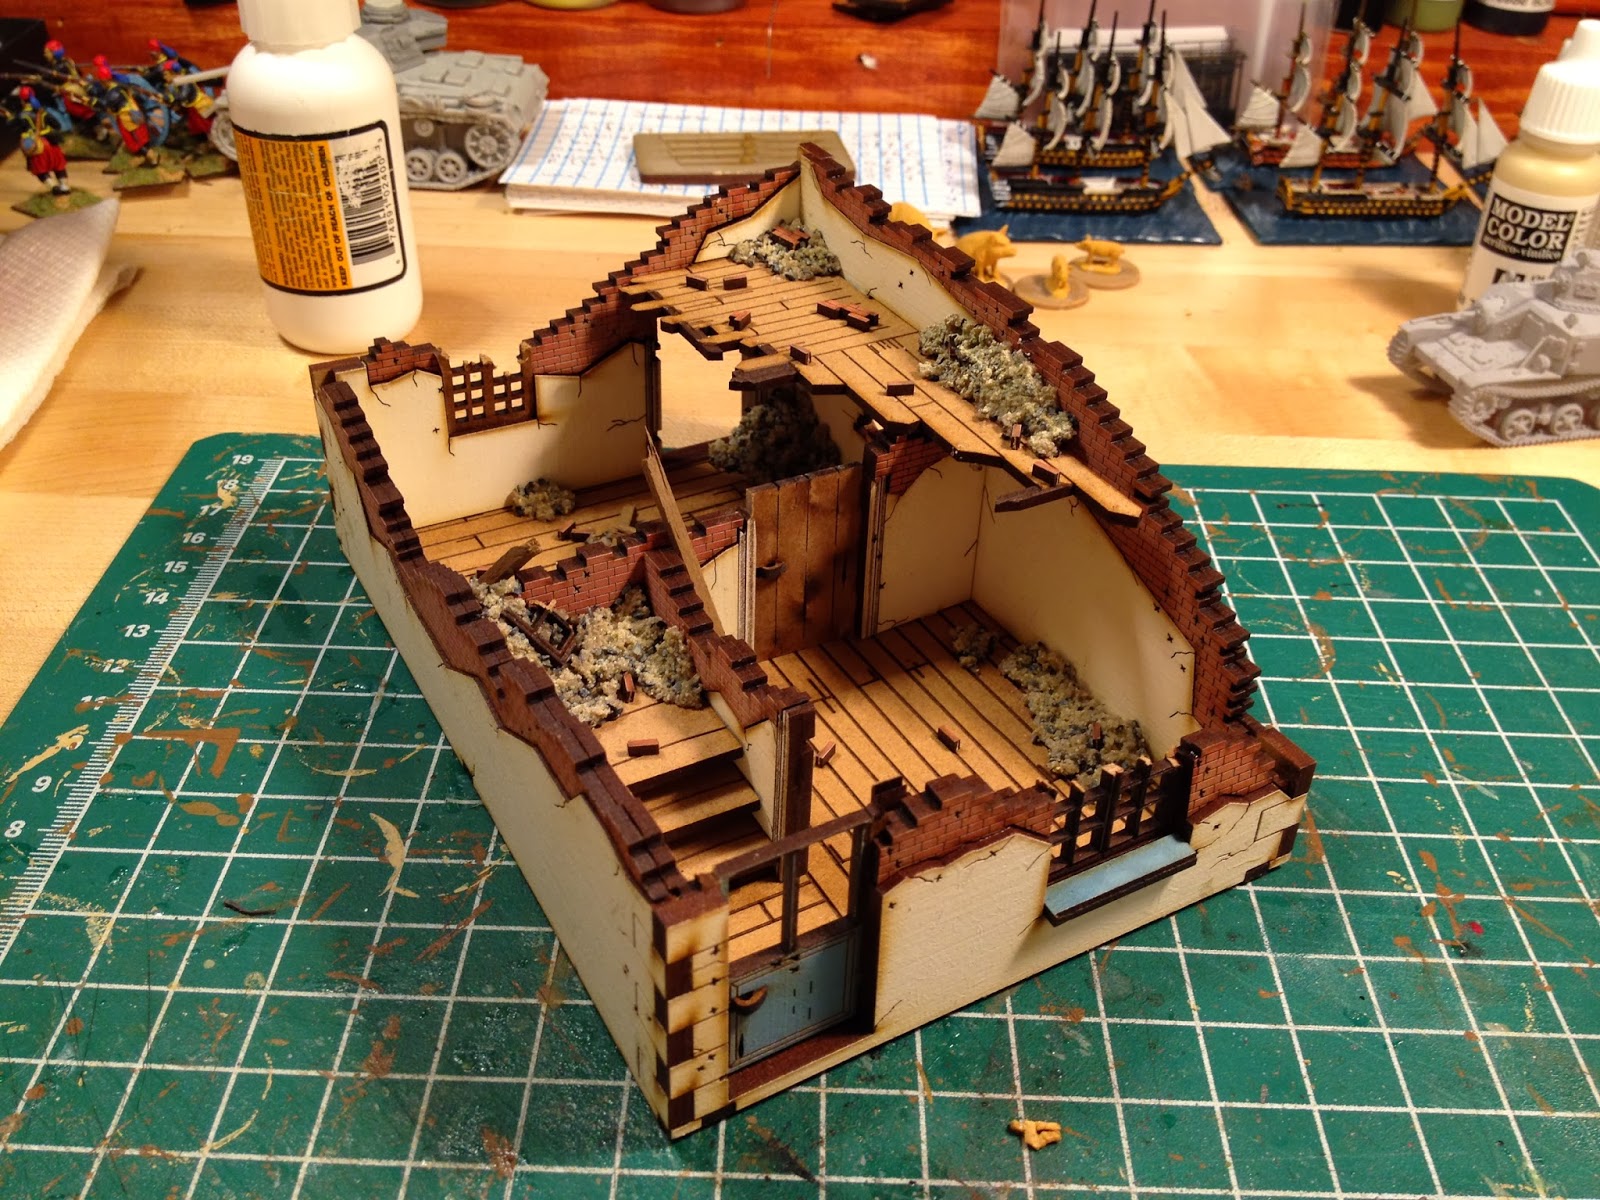
I continue to see lots of the new 4Ground laser cut buildings and Fall In was no exception. After playing on a few tables with the terrain pieces during the Bolt Action Tournament, I decided to take the plunge and pick up a few of them at the Vendor Hall. The first one up for review is the 28mm "Ruined House 2". The kit come flat packed which makes them very easy for retailers to stock. The kit had a price of $25.00 US.
Components:
So, what's inside the plastic bag? There were 8 sheets of laser cut wood. As you can see, sheets come in different shades which allow the kit to not require painting when completed. The planning that goes into the layout of all the parts is very, very impressive. There are a lot of small details that are either cut onto the parts themselves (bullet holes, knots in the wood planking) or are separate pieces. For example, the red sheet (center / front sheet) is used for the exposed brick work has extra brick sections to use as rubble including 80 individual bricks. All of the components where very well produced and the sheet coloring was well done. The only thing I can ding 4Ground on is the instruction sheet, which is a color fold out that shows how all the parts go together. I find 4Ground's presentation style to be a bit confusing but that's a minor nit. Build Tip 1: ALWAYS test fit parts before gluing, it's easy to get a bit confused as to which part goes where.
Components: 9 out of 10
Assembly:
It took me roughly 45 minutes of build time to complete the model and, as advertised, it's ready for the tabletop (more on that later). I used standard yellow wood glue for the model and all the parts fit together snuggly. The walls of the house are two parts Outside and inside facing so the both sides are "painted" but it also adds a good deal of strength to the kit. I did my standard drop test from 4 feet and nothing happened. OK, I don't really have a standard drop test (dropping one of my resin kits are you crazy?). I accidentally dropped the finished kit and it survived the fall intact! There is a surprising amount of interior detail, walls, posts and stairs. The plank flooring is well done. I was a little skeptical about building the stairs but they proved to be an easy assembly. The stairs are designed to accommodate a 25 mm round base so 28mm figures can be placed securely on the stairs. Build Tip 2: Don't remove parts from the sheet until you need them. There are part numbers printed on the sheet next to the parts (not on them) so it can become hard to identify parts once they are separated from their part number. This should just be a model kit, not a puzzle and model kit.
Assembly: 10 out of 10
Finished Kit:
The finished kit looks good and is ready for the table top. I was very impressed by the model but do have an aesthetic issue with the appearance - it's too "straight liney". What does that mean? As the model is assembled for sheets of plywood everything is angular, flat and "clean" - there's nothing "round". A demolished house would have piles of rubble which don't lend themselves to being represented for flat sheet of wood. I think this is an easy fix by adding some rubble mix and using the 80 precut individual bricks provided with the kit.
Another view of the model which shows the stairs.
Finally the other side of the kit. My next step for this model will be to "tart-it-up" with some rubble and debris. I'll use a slurry of fine sand, rail road model ballast and the kit's bricks to make rubble and use my band saw to trim some planks from the frame that held the floor parts for some timbers. The key is to add enough rubble/debris to soften the angular look without taking up too much room as models still need to fit into the house. That project will be the subject of another post.
Finished Kit: 8/10
Summary:
Kit Components: 9 out of 10
Kit Assembly: 10 out of 10
Finished Kit: 8/10
Overall: 9/10 - Highly Recommended
I'm confident that I'll be raising the score of the completed kit once I'm done adding a small amount of debris.
NOTE: This post first appeared on the
WWPD Bolt Action Blog
 The first picture shows a finished model of the 4Ground Ruined Hose #2 kit. It's a great kit but, to me, it's looks both too angular and clean - every things a right angle and there is no rubble. I wanted to take a stab at "tarting-up" the model by adding some simple details. I also need to keep the additions limited so there's still room in the structure to place figures.