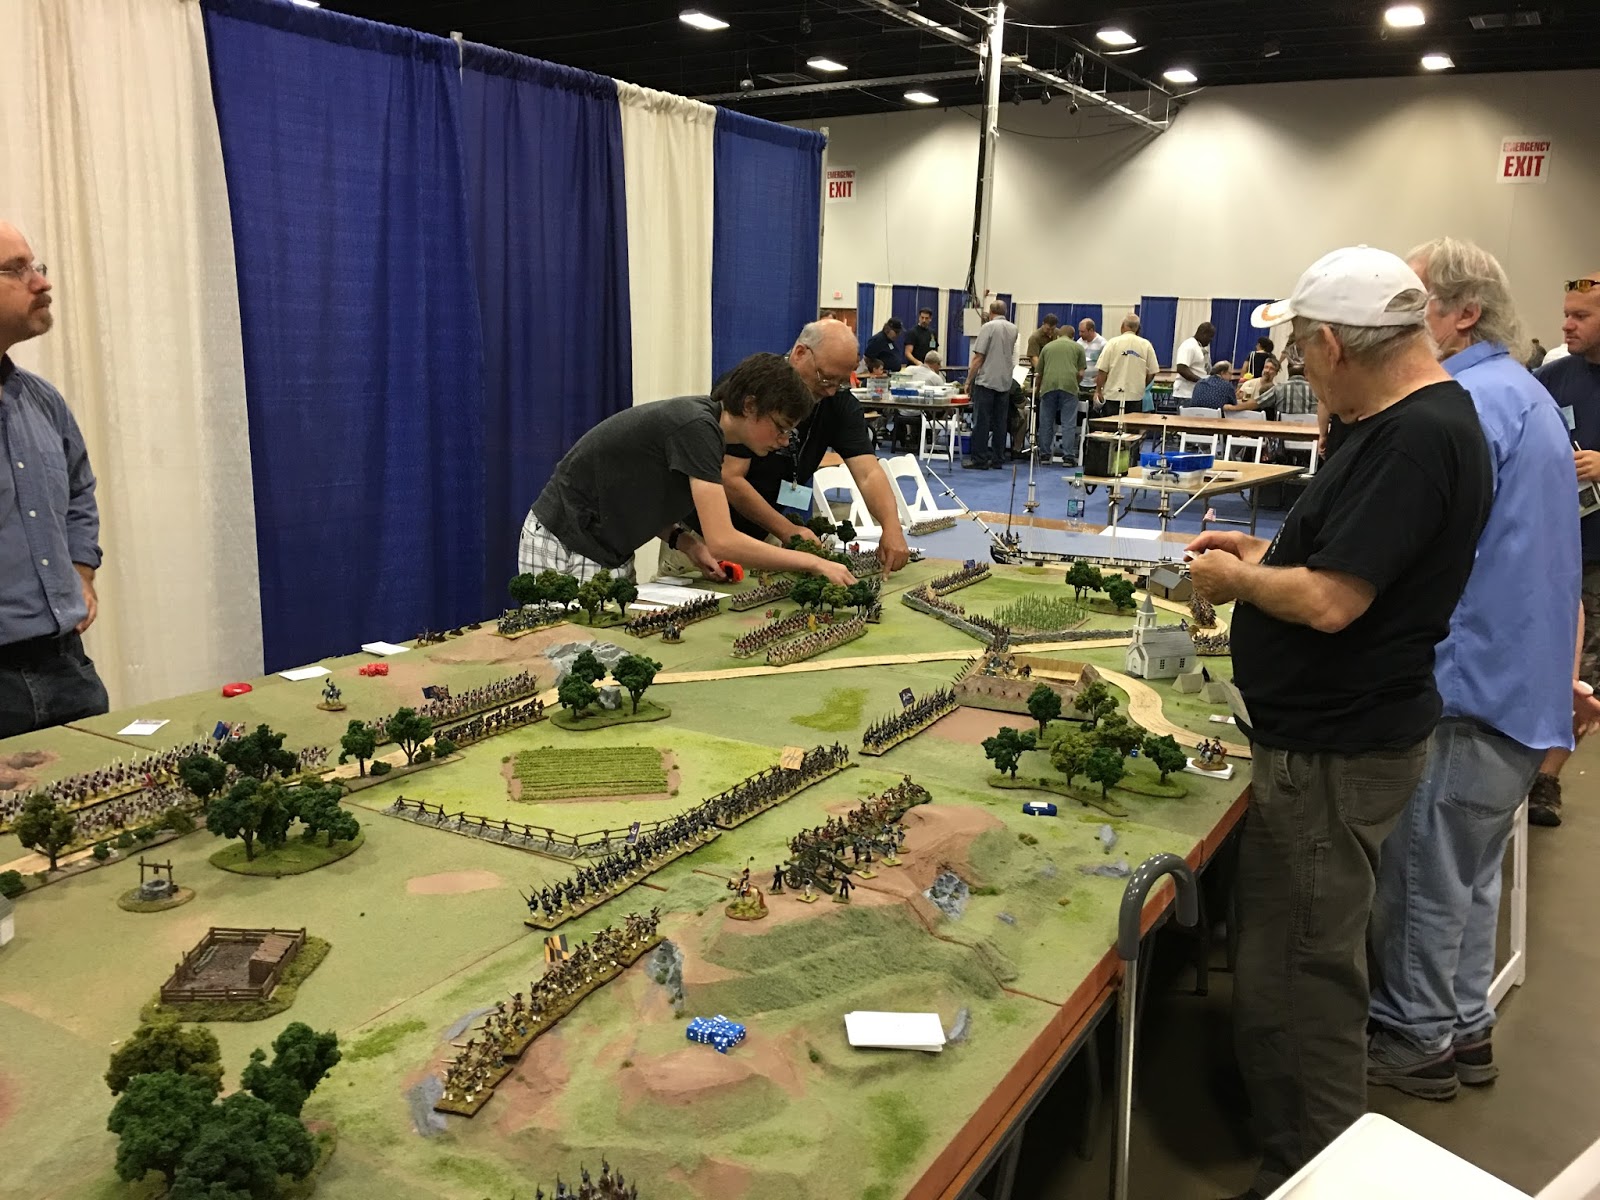
On Friday (July 17th) Mike and I ran our second game - a fictional land battle pitting a combined CSA / British Intervention Forces (BIF) against a Union army. The objective of the game was simple - the CSA/BIF had to exit two regiments off the road near the church (bottom center of the picture). We used the Longstreet ruleset which I both like to play and find very easy to use in a convention setting. The rules aren't as detailed or realistic as Regimental Fire and Fury but still give a great game.
Opposing the CSA/BIF force was a Union army of 16 infantry and 2 calvary regiments plus 5 artillery batteries spread across 4 players - 3 Brigade commanders and an overall CIC. Pictured here is the left flank Brigade - one of it's infantry regiments is in march column just to the right of the picture.
The Union center was held by a Brigade of Irish regiments, who were just aching to get a crack at the Brits. Also pictured is the reserve brigade that was under the command of the Union CIC. There's an artillery redoubt in the small hill with pine trees in front of the reserve brigade.
Lastly, the Union's right flank was defended by an infantry brigade and some artillery positioned on a large hill.
Opposing the Union was a large CSA/BIF force that numbered 20 Infantry and 3 calvary regiments. They were a bit short on artillery having only 3 batteries. Pictured are two CSA infantry brigades on the CSA left flank.
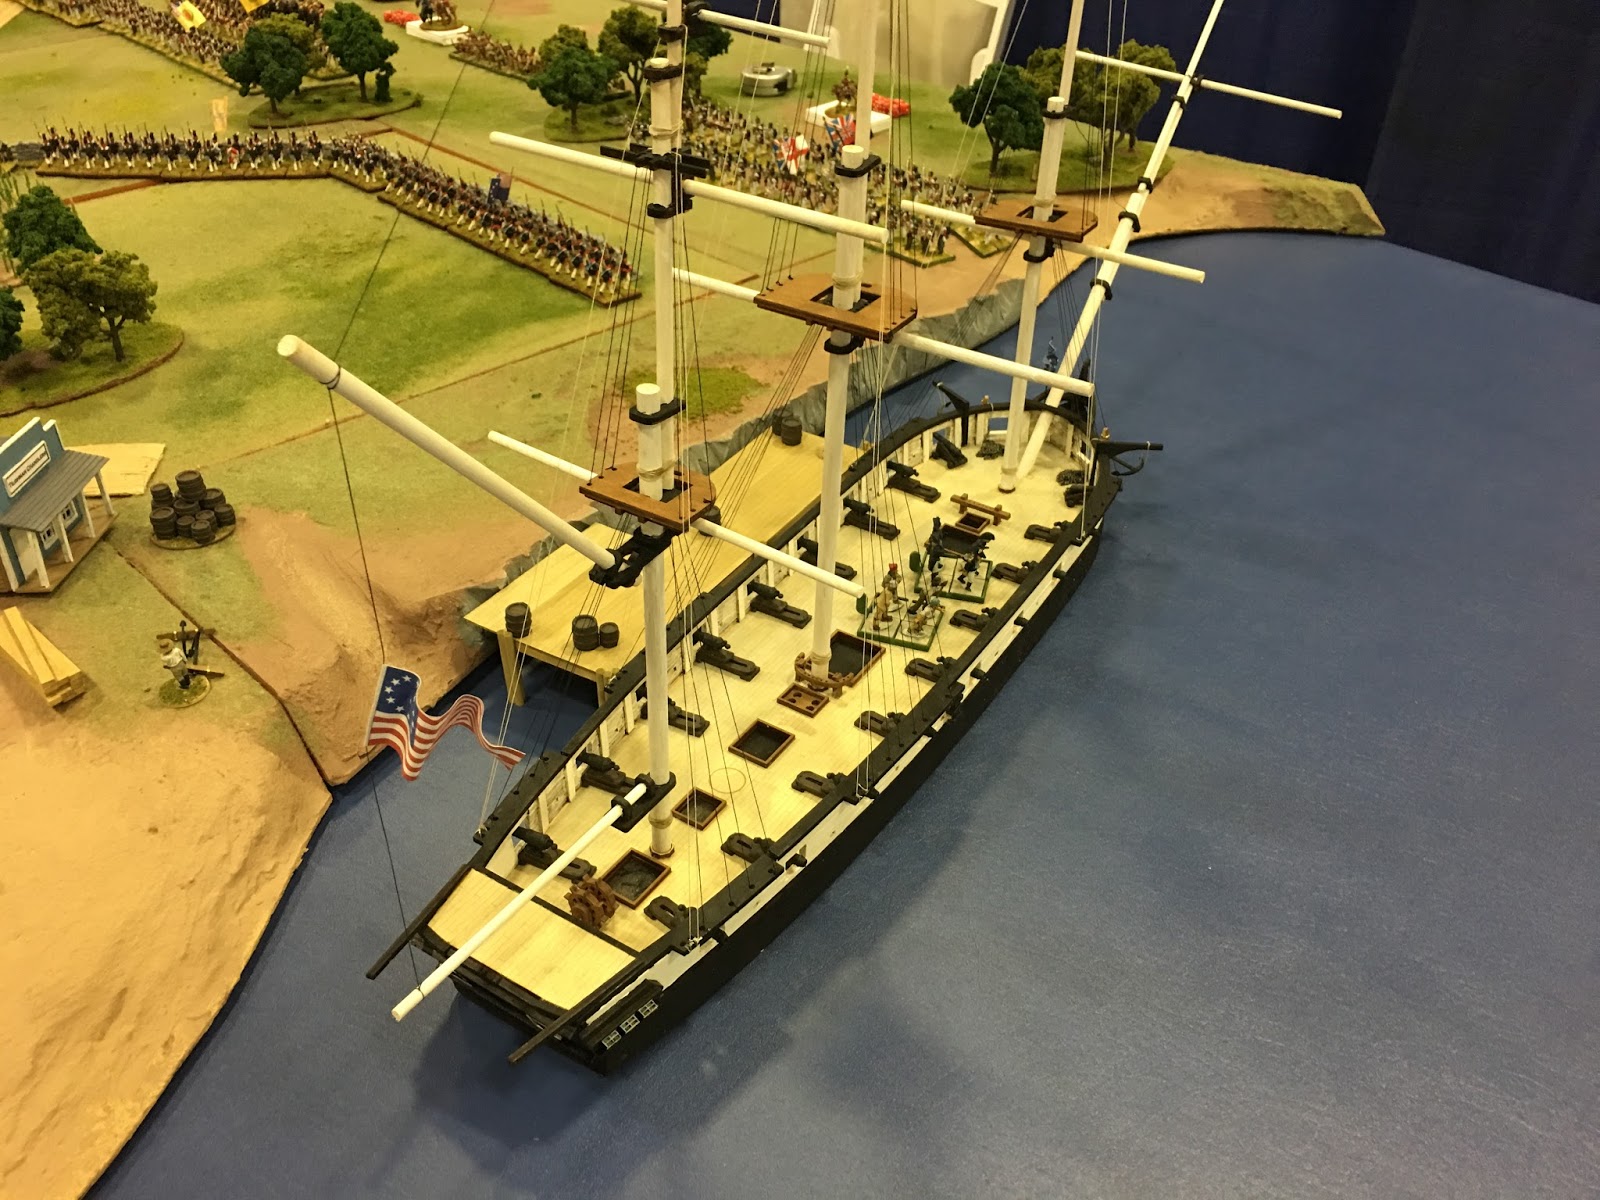
The other flank featured a very large BIF force - look at the pretty uniforms but can they fight? Oops - this picture was taken before Mike arrived with the British Lancers so they're not in the picture!
Lastly in the center was the CSA reserve force which would be thrown into the battle by the CIC at the outset - there will be no holding back on this assault!
Battle is joined! Mike and I were very fortunate to have 8 great players - some of whom have played in both our past Historicon games and the previous day's Ironclad clash. I think the most important part in having a good con game experience is setting the right tone and havinf a good set of players. Mike and I were very fortunate that we had all of that in every game we ran this con.
By the way, the Lancers showed up! (center, lower-left)
The BIF makes it's initial advance. In response the Union calvary regiment runs back and dismounts in the pig sty which forms a mini fort. This was a very important move as calvary held up a few BIF battalion 4 critical turns.
In the center the CSA advances across the board and begins to take losses from a hail of artillery fire.
Both sides are loosing stands to artillery and rifled musket fire
The BIF lines up it's lancer for a charge...
and begin to wear down the calvary unit holding the pig sty.
A view from the Unions lines - that's a lot of grey coming our way
A whole lot of grey...
Confederate losses mount as the initial assault is thrown back
With the Pig sty cleared the BIF begin to push the Union blocking force back
It's being to look dicey for both sides as regiments begin to break. In Longstreet when a regiment is reduced to one stand it's removed from the game
The final rebel assault break the Union line just as the BIF force a crossing of the river. A battered rebel regiment makes a break for the road - with only two stands the next loss will result in it's breaking. Unfortunately for the web's theres a single Union gun right in front of the unit. The gun fires a round of canister at the rebs and scores three hits. All the Union player needs to do is roll at least one 4+ out of three dice rolls for the hits.
The Union roll the dice and gets a 1, and then a 3 and then a 1! No kills and the regiment makes it off the table.
At that point we declared the game a rebel victory and all the players cheered the result - it was a grand game and a lot of fun to run.
I was very surprised the see that Mike and I got an award for this game also. I know the PC thing to do is say "aw shucks..." but I was really pumped to get the award. Mike and I put a great deal of effort into getting ready for the con from painting minis to making all of the terrain - everything on the table scenery wise was made in the past three months. It was very gratifying to get some recognition. I know, I know I sound like an ego maniac.
Later in the evening we ran the game again and had some of the vendors join us - specifically Ed and Jaimie from Architects of War and the guys from Trenchkworx (they make THE best 28mm 3d printed and resign tank kits).
We ran the same scenario but...
The game ended in a decisive CSA/BIF victory as the Union decide to counter attack in the center and lets just say it didn't go well. Then again, if the attack worked it would have gone down in gaming legend so I say it was the right move just with the wrong dice rolls!