The USS Wasp is a Laser cut kit from a company aptly named
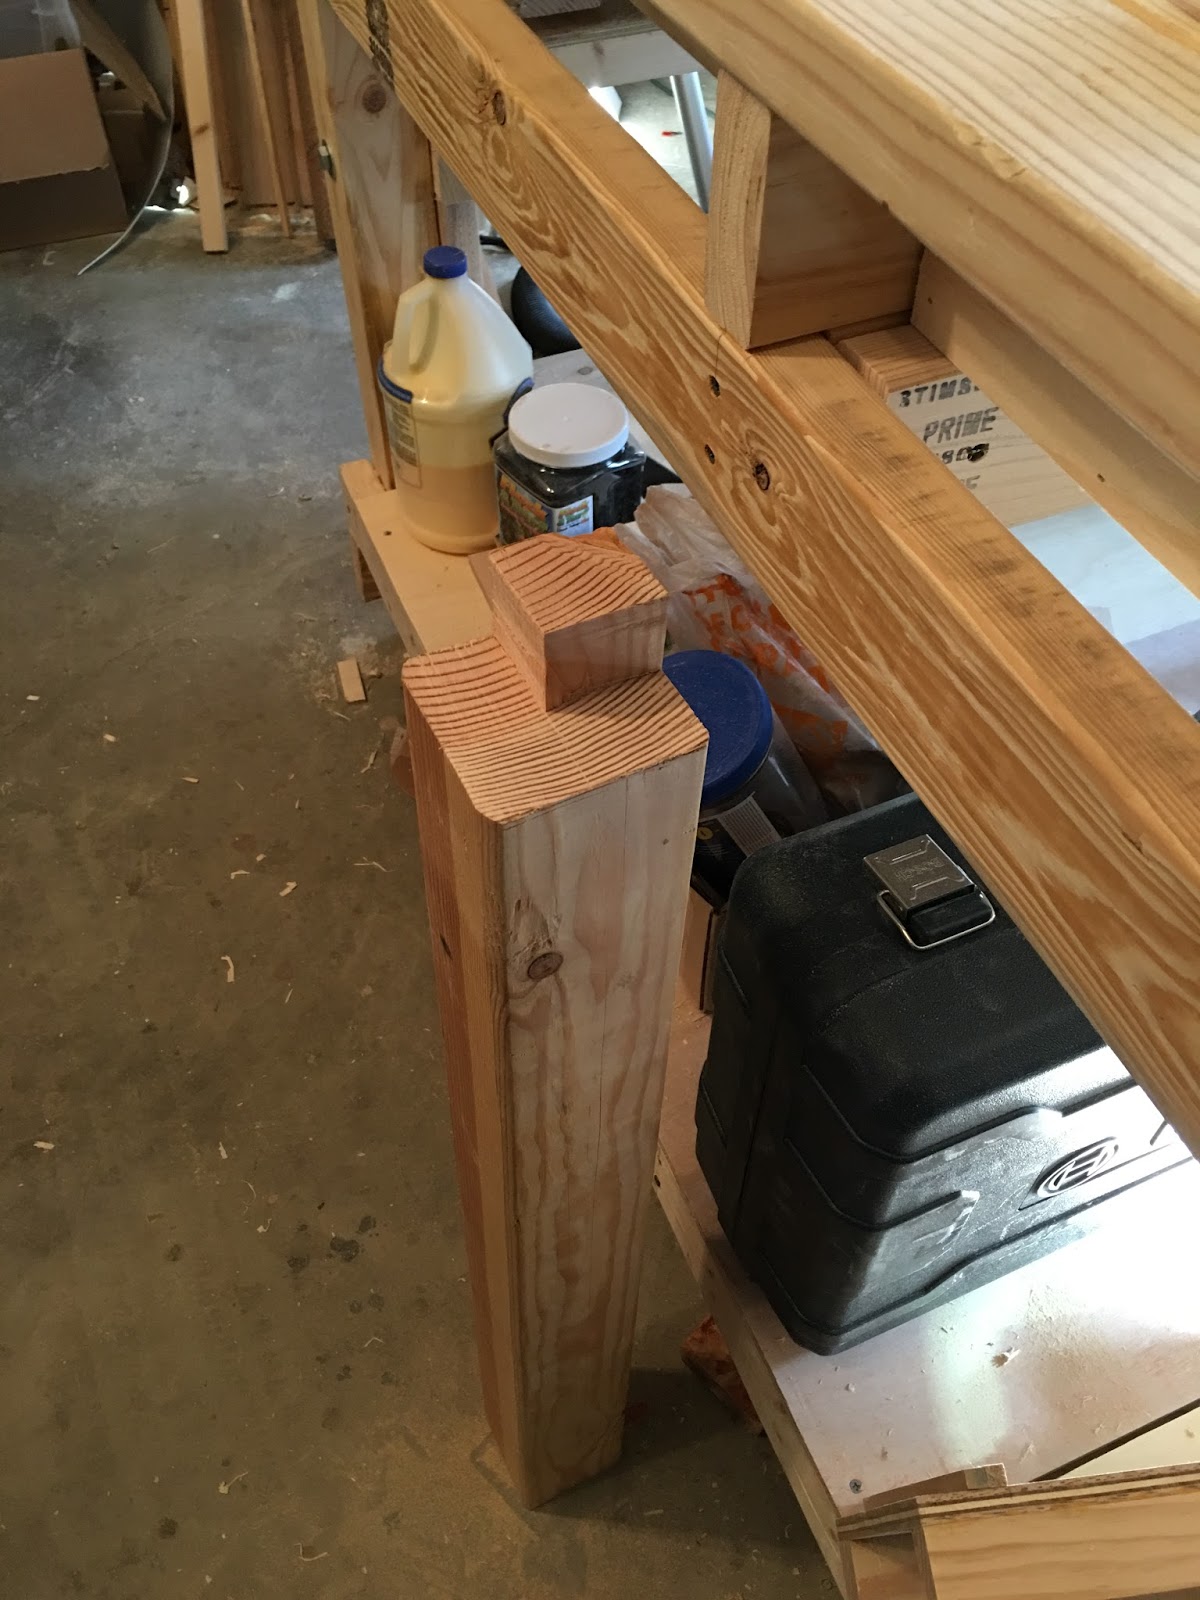
Laser Dreamworks. I highly recommend their stuff. I made some modifications to the kit which I'll try to point out along the way. The first change involves the hull. The kits for larger ships use 1" think extruded polystyrene (pink insulation foam) for the hull. It's light weight and easy to shape. For normal tabletop duty it's fine. I replaced it with 2 1/2 inch cut-outs of birch plywood as I was concerned about durability as I was planning to take the Wasp "out-to-sea: to put on convention games. I used the hull piece to trace out the form and cut it out on my band saw. Then there was a lot of hand planing to shape the hull and finally some carving to add in planking.
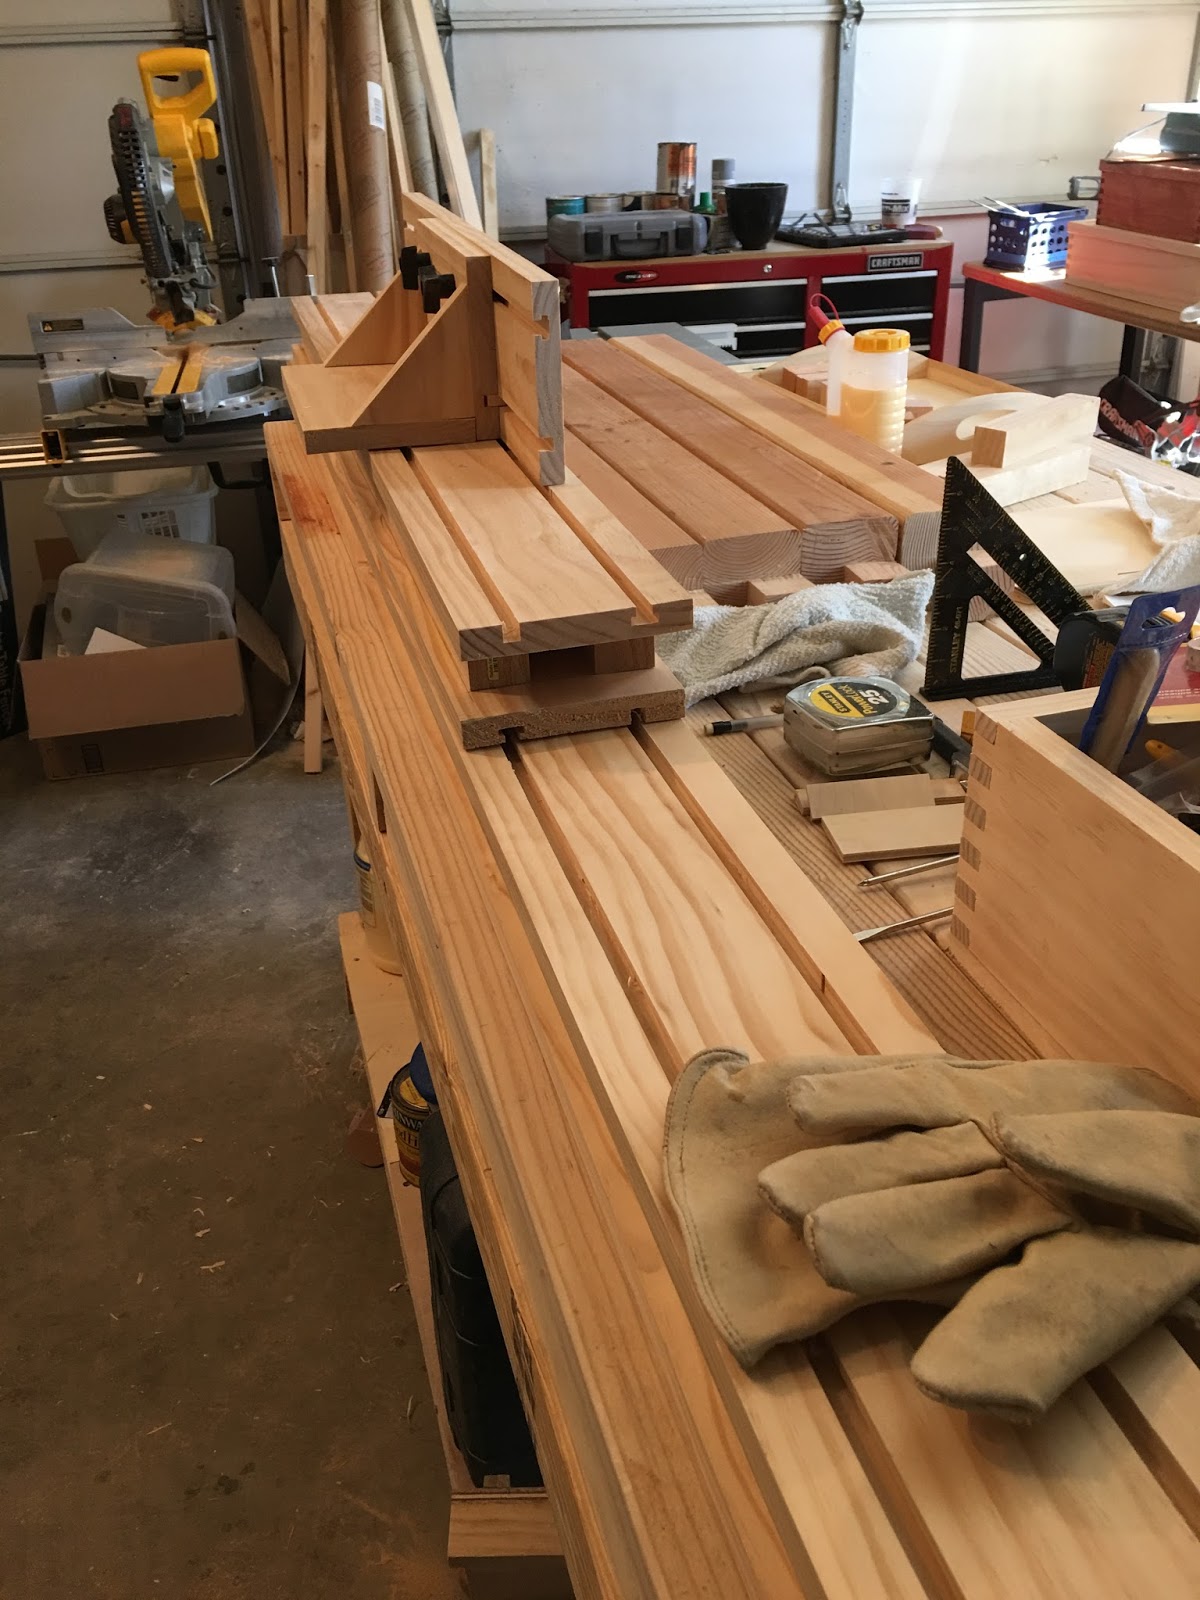
With the hull shaped I attached the deck piece and started to put in the ribs which the upper hull sections are built around.
The kit comes with two sheets of laser cut parts. Each sheet is covered by a layer of plastic on each side. Only remove the top layer and not the back one or most of your parts will fall out and you've got both a puzzle and a ship model. There are approximately 10 million parts with the kit.
Take your time laying out and attaching the deck sides...
And the decking is done. I use a waterproof wood glue 'cause I've got lots of it. Once everything is glued and in place, I weighted the top with some granite counter samples we had left over from a kitchen remodel. These granite samples have become an invaluable tool on my workbench as the have a perfectly flat surface to build on (think alining right angle glue ups) and are of a size to act as a good weight.
I may do a post on unconventional modeling tools and these will be at the top of the list.
The decking is complete and there a test fit of the main mast. Once the deck was firmly glued to the plywood base, I used a drill press to drill out the 3/8 inch mast holes.
A close up of the bow - I needed to file out a wedge for the anchor stays
The kit comes with a very useful parts list for the mast and spar parts. Use it or go crazy. My only suggestion to Laser Dream works would be to reorganize the parts by mast type rather than just diameter.
With the hull done it's off to build the masts - there are still approximately 9 million parts to go. The masts appears complicated but are very easy to do after your first one
Despite leaving the tacky plastic on the back of the parts frames on, some parts fall out - stop what you're doing and label them our you'll never know what they are.
First coats of paint - given the size of the ship (37 inches long) I used simple craft paints. One caution - don't water the paints down a lot as this is an all wood project and the masts can warp. I could have primed the masts but just didn't have time to do so.
The masts are completed! By the way you can see the original pink foam hull cut out on the right side of the picture.
The wasp in now armed - the kit comes with 16 24 pounder carronades (shot guns of the sea) and 2 12 pounder long guns. The cannons are metal castings and are very nicely done. The only step left is rigging and details
Rigging took a good bit a time - but heres the finished model. It took me 6 weeks to finish her up but I think she was worth the effort.